English
 English
 中文简体
中文简体
 Español
 Tiếng Việt
Get in touch
English
Get in touch
Aug 10, 2026
Sooner or later, every garage door with a torsion spring system deals with a broken spring. The door slams down or refuses to open, and the first question is practical: how do I know which torsion spring to buy? The answer is five measurements — wire size, inside diameter, length, wind direction, and end type. Get all five right and the replacement will balance the door and live out its rated cycle life. Get one wrong and the door will open unevenly, strain the opener, or break the new spring early. Measure them in the order a manufacturer would ask: size, diameter, length, wind, end.
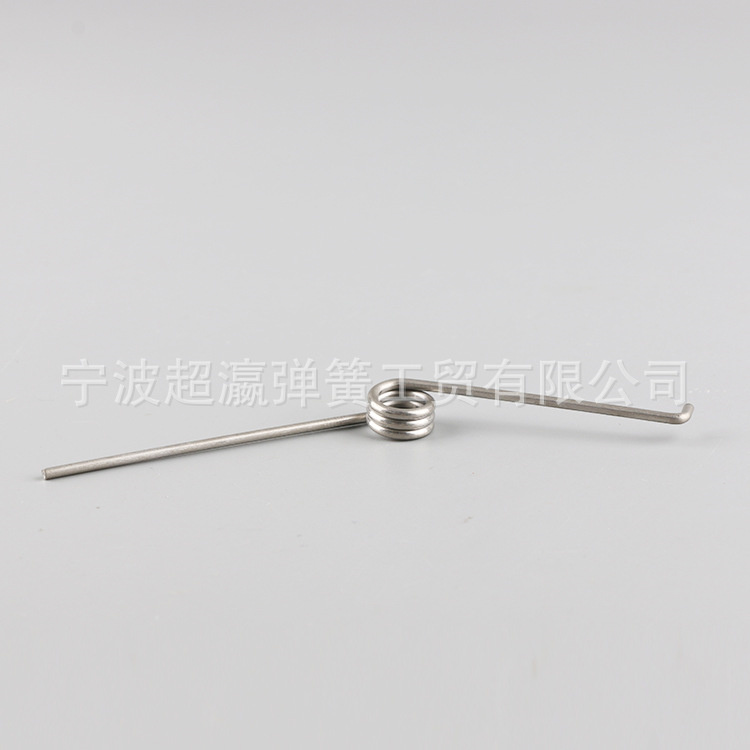
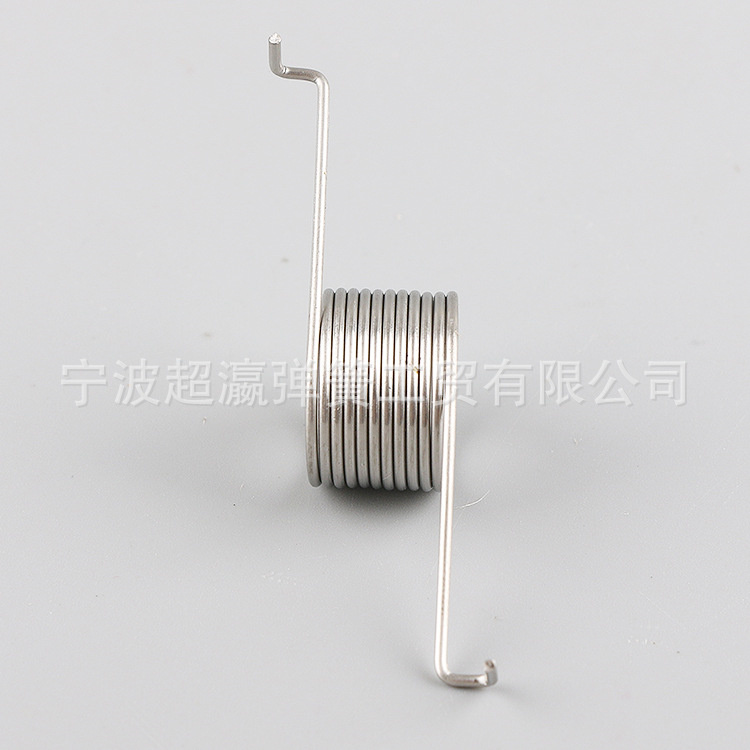
Confirm the spring type before you measure anything. A torsion spring sits horizontally on a steel shaft above the door header and stores energy by twisting as the door rotates. An extension spring hangs vertically above the tracks on both sides of the door and stores energy by stretching. The two systems use completely different sizing logic.
| Torsion spring | Extension spring |
| Mounted horizontally on a shaft above the door | Mounted vertically above the tracks on each side |
| Stores energy by twisting as the shaft rotates | Stores energy by stretching as the door opens |
| Ends use conical winding cones with set screws | Ends use hooks or loops attached to pulleys and cables |
| Standard on most modern residential garage doors | Common on older or lighter door systems |
Torsion and extension springs differ in position, energy storage, and end hardware, so each type requires a different replacement measurement process.
If the coil rests on a shaft above the door and ends in a tapered cone with set screws, it is a torsion spring. If the spring has hooks or loops on the ends and stretches when the door moves, it is an extension spring, and this guide does not apply to it.
Wire size is the diameter of the steel wire that forms each coil. It decides the torque the spring can deliver, so it is the first number a supplier asks for.
Measure a single coil with a caliper: place the jaws around the wire cross-section, perpendicular to the coil, and read the value. If the surface is rusted or heavily coated, that reading may be unreliable. Use the multi-coil method instead — press 10 or 20 consecutive coils together, measure the total width, and divide by the number of coils. Ten coils measuring 2.250 in total mean 0.225 in per coil. Repeat the measurement twice to get a stable average.
Precision matters here. A difference of 0.010 in wire size noticeably changes the spring torque. Too thin, and the door won't stay balanced while the opener motor strains. Too thick, and the spring overpowers the door, making it fly up or slam down harshly.
Compare your reading against the DASMA standard wire size chart used across the North American garage door industry. If your number falls between two listed sizes, re-measure — do not round to the closest value and hope it works.
Inside diameter (ID) is the distance between the inside edges of two opposite coils, measured through the center of the spring. This dimension decides whether the spring fits on your torsion shaft.
Place the caliper jaws inside the coil, not outside. Measuring the outer diameter adds two wire thicknesses to the result and gives you a spring that spins loosely on the shaft. Residential doors commonly use 1.75 in or 2 in IDs, but common is not a specification: always measure to the nearest 1/16 in, and record the shaft diameter as well if it shows heavy wear.
The consequences of a wrong ID are immediate. Too large, and the spring clicks, wobbles, and wears its end cones quickly. Too small, and it will not fit at all. Torsion springs are hardened steel, so you cannot hammer a tight fit into place.
Length is measured on a fully relaxed spring, from the last coil on one end to the last coil on the other end, excluding the cones.
Never measure while the spring is under tension. A loaded torsion spring releases violent energy when the set screws come out. If the spring is still holding the door and you are not experienced with winding bars, stop and call a professional. If you have the tools and training, release the tension properly with two winding bars before removing anything.
Once the tension is released, lift the spring off the shaft and lay it flat on the floor. For a broken spring, fit the two broken ends together so the coils mate as they originally did, hold the crack closed, and measure the combined length of both pieces. The result gives you the approximate relaxed length of the original spring.
Length matters because it reflects coil count. Each coil contributes roughly one wire diameter to the total length, and more coils mean lower stress per coil and longer fatigue life. Two springs with the same wire size and inside diameter but different lengths are different products and are not interchangeable.
Wind direction tells you which side of the door a spring belongs to. Viewed from inside the garage looking out, the left-wound spring goes on the left side and the right-wound spring on the right side. Install one on the wrong side and the door twists unevenly, straining the drums and cables.
Visual check: look straight down at the end of the spring from above the shaft. Trace the last coil where the wire enters the winding cone. If that end of the wire points clockwise, the spring is left-wound; if it points counterclockwise, it is right-wound.
The paint stripe can double-check this. The common garage door color code marks right-wound springs with a red stripe and left-wound springs with a black stripe. But stripes fade, old springs get repainted, and some aftermarket products skip the code entirely. Trust the coil direction first and treat the stripe only as backup.
Measure both springs on the door even if only one broke. After years of partial repairs, the two sides often carry different wire sizes or even opposite specs, so copying only the broken side can keep a mismatched pair in service. For a more detailed explanation of the visual method and common mistakes, our article offers a closer look at left-hand vs. right-hand spring winding.
End type describes how the spring connects to the door hardware. It is the spec that is easy to forget, and the one that can make a perfectly sized spring impossible to install.
Standard wound cone is the classic layout: a tapered cone on each end of the coil, with a set screw on the winding side and a fixed cone on the stationary side. If your old spring came off a shaft with a cone and visible set screws, order this type.
Clip-end is the alternative: the spring ends in a flat notched steel plate that clips into a mating bracket or torsion tube. If your old spring ends in a plate instead of a cone, a standard cone spring will not work on your door.
Finish and material matter as much as geometry. Standard torsion springs are zinc-plated carbon steel, and that finish performs fine in a dry garage. In coastal or humid environments, the plating breaks down, the wire pits, and the spring loses life quickly. For those conditions, consider stainless steel torsion springs for garage doors, which resist corrosion much better over the same dimensions.
Measuring an existing spring only works when a spring is actually there to measure. New installations, custom door builds, and doors that had the wrong spring for years all need a different starting point: the specification has to be calculated from the door itself rather than copied from a coil.
The calculation begins with total door weight, and that figure has to include everything hanging on the panels — insulation, a decorative overlay, glass sections, or a built-in pedestrian door. A plain steel sectional door around 16 ft by 7 ft typically falls between 130 and 180 lb, but an insulated or wood-clad door of the same size can exceed 300 lb, and a spring sized for the lighter figure will never balance the heavier one.
Simplified Torque Relationship
Torque needed per spring rises with door weight and drum radius, and falls as the number of springs sharing the load increases. Two matched springs each carry roughly half of what a single spring would need to lift the same door — which is why nearly every residential installation runs a pair rather than one oversized coil.
Drum diameter, track radius, and the door's opening style (standard lift, high lift, or vertical lift) all shift the final number further, which is why a factory engineering team asks for door weight and height rather than accepting a guessed wire size. Sending the actual dimensions produces a spring that is sized to the door, not to whatever happened to be installed there before.
Wire size and inside diameter describe geometry, but the material behind that geometry decides how long the spring survives its environment. Four options cover most residential and light commercial doors.
| Material / Coating | Typical Environment | Trade-off |
| Zinc-plated carbon steel | Dry, temperature-controlled garages | Lowest cost, shortest life near moisture |
| Oil-tempered carbon steel | Standard residential use, moderate climates | Higher fatigue resistance than plain zinc coating |
| Powder-coated carbon steel | Attached garages with occasional humidity | Better corrosion barrier, coating can chip if scratched |
| Stainless steel (304 / 316) | Coastal, marine, or high-humidity regions | Highest corrosion resistance, higher unit cost |
Coastal and high-humidity regions are where wire choice matters most. Salt air works into the coil surface long before it becomes visible rust, and once pitting starts on a plated wire, the fatigue life of that section drops sharply regardless of how correctly the spring was sized. A stainless wire in the same wire size and inside diameter costs more up front but avoids the repeat replacement cycle that plated wire goes through in those conditions.
A correct measurement only produces a correct door if the spring itself was made to the tolerance the measurement implies. Before a torsion spring order ships, a few checks confirm that the coil matches its stated specification rather than just its stated size on paper.
Wire Diameter Sampling
Coils are pulled at random from each production batch and re-measured with a caliper against the ordered wire size, catching drift before an entire run ships out of tolerance.
Fatigue Cycle Testing
Sample springs are wound and released repeatedly on a test rig to confirm they hold the rated 10,000 to 20,000 cycle range before a wire lot is approved for the full order.
Torque and Load Verification
A torque gauge confirms the spring delivers the calculated in-lb rating at full wind, not just at rest, since resting length alone does not guarantee correct torque under load.
Salt Spray Testing
Coated and stainless samples go through accelerated salt spray exposure to compare corrosion resistance across finishes before a coating is approved for coastal-spec orders.
Cone and End Fit Check
Winding cones and clip-ends are test-fit on matching shaft and bracket samples to confirm the end hardware seats correctly before packaging.
Batch Traceability
Each production run is logged against its wire lot, so if a fatigue or dimensional issue is ever reported, the affected batch can be identified and isolated quickly.
Standard residential dimensions cover most repair orders, but doors outside the usual range — oversized commercial doors, older imported doors with non-standard shafts, or architectural doors with unusual proportions — need a spring built to a specific spec rather than pulled from a common size list.
| Parameter | Available Range |
| Wire size | Approximately 0.148 in to 0.500 in |
| Inside diameter | Approximately 1.375 in to 3.5 in |
| Relaxed length | Custom, built to the ordered coil count |
| Wind direction | Left-hand or right-hand, ordered as a set |
| End type | Standard wound cone or clip-end, steel or reinforced cone |
| Finish | Zinc-plated, oil-tempered, powder-coated, or stainless steel |
| Packaging | Bulk coil packing or individually boxed with labeling |
Sending a filled-out spec sheet with these seven fields, along with door weight and height where the old spring is unavailable, is usually enough for a factory to confirm buildability and lead time without back-and-forth clarification.
Measuring the old spring only helps if the old spring was correct for the door — which is not always true. Watch for these signs of a mismatched spring:
Run a simple balance test. Pull the red emergency release to disconnect the opener, lift the door to the halfway point by hand, and let go. If it stays close to where you left it, the tension roughly matches the door weight. If it rises, the spring is too strong; if it sags, the spring is too weak.
When the door fails that test, do not reproduce the old spring numbers. Recalculate the spec from the actual door weight and opening height, or send the measurements to a manufacturer for confirmation. Knowing why springs fail early — typically a wrong wire size, an incorrect inside diameter, or an overloaded door — helps; our summary of common torsion spring failure modes explains those causes in detail.
A garage door torsion spring under load stores enough energy to throw tools, bend door hardware, and injure people. DIY is not the right choice in every situation.
Calling a professional does not make this guide useless. With the measurement steps above, you can check that the quoted replacement matches the measured specs of your old spring and ask informed questions about wire size, wind direction, and material before approving the work.
A correctly sized spring still loses cycle life early if it is left unmaintained. A short routine, done a few times a year, keeps the new spring performing closer to its rated cycle count.
Apply a light coat of silicone-based lubricant to the coils twice a year — avoid grease or oil-based products, which attract dust and grit that accelerate wear between coils.
Check the set screws on the winding cone periodically; loose screws let the cone slip on the shaft and shift the spring's effective wind under load.
Re-run the balance test every few months, especially after temperature swings, since cold weather can stiffen a spring's response and mask early sag.
Keep the shaft and end bearing plates free of dust buildup, which increases friction and makes the opener motor work harder than the spring alone should require.
Log the install date somewhere visible on the header, so future cycle-count estimates and replacement timing are based on real service time, not guesswork.
Have the full spec list ready before contacting a supplier. The most common ordering failure is providing four measurements and guessing the fifth.
| Specification | How to determine it | Why it matters |
| Wire size | Caliper on a single coil, or the 10 or 20 coil average | Sets the torque the spring delivers |
| Inside diameter | Caliper across the inner edges of opposite coils | Must match the torsion shaft |
| Spring length (relaxed) | End-to-end measurement, cones excluded | Determines coil count and fatigue life |
| Wind direction | Clockwise tail = left-wound; counterclockwise tail = right-wound; stripe color as backup | Matches the spring to the correct side of the door |
| End type | Standard wound cone or clip-end | Decides whether it fits your hardware |
| Quantity | Both springs on the shaft, measured separately | Keeps tension balanced between the two sides |
| Door weight and height (optional) | Scale and tape measure | Lets the supplier confirm the calculated spec |
Complete specification list to prepare before ordering a replacement torsion spring.
Make two decisions before you order. Replace torsion springs as a pair: if one side broke, the other has the same number of cycles and is not far behind, and a fresh spring paired with a fatigued one twists the shaft unevenly during operation. Also write down which side each spring came from and its stripe color, so the supplier can cross-check the wind direction you measured.
When the spec list is complete, match it to the right product line. For wide double-car doors and high-use installations, heavy-duty garage door torsion springs are the reinforced starting point. For uncommon dimensions or corrosion-resistant material, browse torsion springs for overhead doors in various specifications. If nothing on the site matches exactly, send us the numbers — our engineering team can help confirm the specification before you place the order.
How long should a residential torsion spring actually last?
A correctly sized spring is rated for roughly 10,000 to 20,000 cycles, with one open-and-close counted as one cycle. A door used four times a day averages around seven to ten years before the spring reaches the low end of that range.
Can I install just one new spring if only one side broke?
It runs, but it is not recommended. The surviving spring has already used a large share of its cycle life, and pairing it with a fresh one creates uneven tension across the shaft, which shortens the new spring's life as well.
Does a heavier gauge wire always mean a stronger, better spring?
Not on its own. Wire size has to match the specific door weight and drum setup. An oversized wire on a lighter door makes the door open too fast and puts unnecessary stress on the tracks and opener.
Why do two springs with the same wire size and diameter still not interchange?
Length determines coil count, and coil count is a separate variable from wire size and inside diameter. Two springs can share both of those numbers and still deliver different torque if their lengths differ.
Is it worth paying more for oil-tempered or stainless wire on an inland door?
In a consistently dry, climate-stable garage, standard zinc-plated wire performs well for its full rated cycle life. The upgrade pays off mainly where humidity, temperature swings, or airborne dust are a regular factor.
What information should I send if I don't have the old spring to measure?
Door weight, door width and height, drum diameter if known, and whether the door uses standard or high lift tracks. That combination lets an engineering team calculate torque instead of relying on a physical sample.
Related Products
Contact us
Factory Address
No. 8, Taoyuan South Road, Wuyuqiao, Henghe Town, Cixi City, Ningbo, China
Phone
+86-188 6787 1218+86-574-62605393
QR CODE
 Wholesale Stainless Steel Coil Springs Manufacturers